Online Designer用户面临的首要问题之一是如何组织从本地计算机下载报告? 今天,我们将考虑从本地计算机上传到Online Designer,并使用ASP.Net MVC应用程序的示例下载已修改的报告。
Online Designer用户面临的首要问题之一是如何组织从本地计算机下载报告今天,我们将考虑从本地计算机上传到Online Designer,并使用ASP.Net MVC应用程序的示例下载已修改的报告。
创建一个ASP.Net MVC项目。 我们将需要以下库:

打开控制器HomeController.cs。 将缺少的库添加到uses部分:
using System;using System.Collections.Generic;using System.Linq;using System.Web;using System.Web.Mvc;using System.Web.UI;using System.Runtime.Caching;using System.Text;using System.IO;using FastReport;using FastReport.Web;using FastReport.Utils;using System.Web.UI.WebControls;using FastReport.Export.Html;using FastReport.Data;using System.Net.Http.Headers;using FastReport.Export.Image;using System.Net.Http;
我们将在Index方法中显示OnlineDesigner。 不过,首先我们要创建一个Web报表对象和一个用于存储报表文件的缓存。 我使用缓存是为了避免将文件保存在服务器上:
private WebReport webReport = new WebReport(); //Report object MemoryCache cache = MemoryCache.Default; //Cache public ActionResult Index(HttpPostedFileBase upload) { webReport.Width = Unit.Percentage(100); webReport.Height = Unit.Percentage(100); string report_path = GetReportPath(); // The path to the folder with reports System.Data.DataSet dataSet = new System.Data.DataSet(); dataSet.ReadXml(report_path + "nwind.xml"); //Read database webReport.Report.RegisterData(dataSet, "NorthWind"); // Register the data in the report// If you do not use the cache, then load the report from the server if (System.IO.File.Exists(report_path + "report.frx")) { webReport.Report.Load(report_path + "report.frx"); }// If you are using a cache, then load a report from it if (cache.Contains("1")) { webReport.Report.Load(cache["1"] as Stream); } // Online-Designer settings webReport.DesignReport = true; webReport.DesignScriptCode = false; webReport.Debug = true; webReport.DesignerPath = "~/WebReportDesigner/index.html"; webReport.DesignerSaveCallBack = "~/Home/SaveDesignedReport"; webReport.ID = "DesignReport"; ViewBag.WebReport = webReport; //Pass the report to View return View(); }
获取报告路径的方法:
private string GetReportPath() { return this.Server.MapPath("~/App_Data/"); }
接下来,我们添加上传文件的方法:
[HttpPost] // Attribute indicates that the method is processing the Post request public ActionResult Upload(HttpPostedFileBase upload) { if (upload != null) { // Get file name string fileName = System.IO.Path.GetFileName(upload.FileName); // Save report in cache cache.Add("1", upload.InputStream, DateTimeOffset.Now.AddMinutes(1)); // If you save to a file on the server upload.SaveAs(Server.MapPath("~/App_Data/report.frx")); } return RedirectToAction("Index"); }
请注意DateTimeOffset.Now.AddMinutes(1)参数。 它指定缓存的有效期。
现在我们需要一个在线设计器中保存报告的方法:
[HttpPost] // call-back for save the designed report public ActionResult SaveDesignedReport(string reportID, string reportUUID) { ViewBag.Message = String.Format("Confirmed {0} {1}", reportID, reportUUID); if (reportID == "DesignReport") {//Save report in cache cache.Set("1", Request.InputStream, DateTimeOffset.Now.AddMinutes(10)); // If the report is saved to the server /*************************************/ Stream reportForSave = Request.InputStream; string pathToSave = Server.MapPath("~/App_Data/DesignedReports/test.frx"); using (FileStream file = new FileStream(pathToSave, FileMode.Create)) { reportForSave.CopyTo(file); }/*************************************/ } return View(); }
我们为这个方法创建一个单独的视图SaveDesignedReport.cshtml:
@ViewBag.Message
它仍然是实现下载报告文件的方法:
public FileResult GetFile() { Stream str = cache["1"] as Stream;// Prepare a file for download from the cachereturn File(str, "application/octet-stream","test.frx");// If you used saving report to the file on the serverreturn File(Server.MapPath("~/App_Data/DesignedReports/test.frx"), "application/octet-stream", "test.frx"); }
现在考虑索引页面的视图(Home-> Index.cshtml):
@{ ViewBag.Title = "Home Page";}Select file
@using (Html.BeginForm("Upload", "Home", FormMethod.Post, new { enctype = "multipart/form-data" })){ } @using (Html.BeginForm("GetFile", "Home", FormMethod.Get)) { }@ViewBag.WebReport.GetHtml()
在顶部我们显示页面的标题。 接下来,使用BeginForm助手来创建一个带有文件选择按钮的表单。 参数指定处理器方法的名称 – “Upload”,控制器名称为“Home”,处理方法为FormMethod.Post,数据编码方式为 – enctype =“multipart / form-data”。
接下来,插入文件下载字段和按钮。
在页面的右侧,我们将放置一个按钮,用其上传/下载编辑后的报告。 对于它,我们也使用BeginForm助手创建一个表单。
在最后一行代码中,我们显示从控制器收到的报告。
有必要连接文件_Layout.cshtml中的脚本:
@WebReportGlobals.Scripts()@WebReportGlobals.Styles()
现在您需要对两个Web配置进行更改。 这些文件被称为相同,但它们位于不同的文件夹中。 第一个位于Views文件夹中。 我们加入:
…
第二个文件位于项目的根目录下。 在其中我们添加一个处理程序:
…
运行我们的应用。
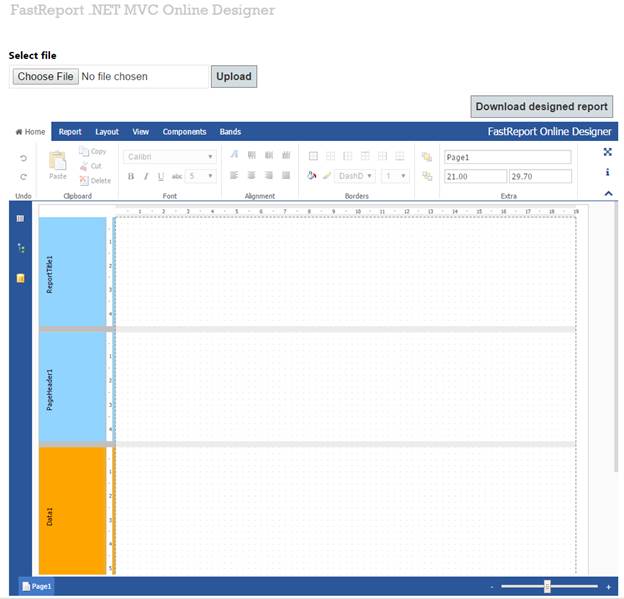
我们看到一个空的报告OnlineDesigner。 使用“选择文件”按钮从本地计算机下载报告。 从对话框中选择文件并点击上传按钮:
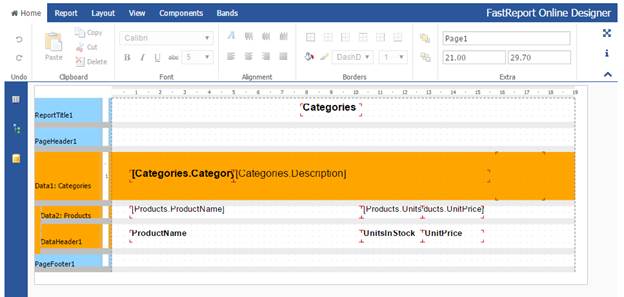
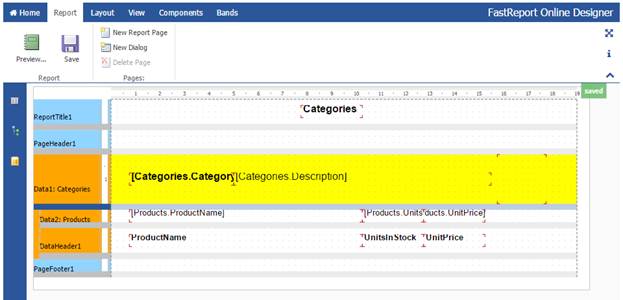
报告模板已加载。 让我们改变数据带中的背景颜色。 在“报告”标签上,我们点击“保存”按钮:
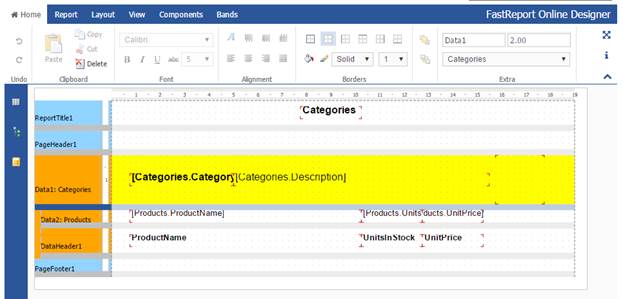
SaveDesignedReport方法起作用,我们看到右边的绿色警报:
现在点击“Download designed report”按钮:

浏览器下载我们的报告 使用报表设计器打开它:
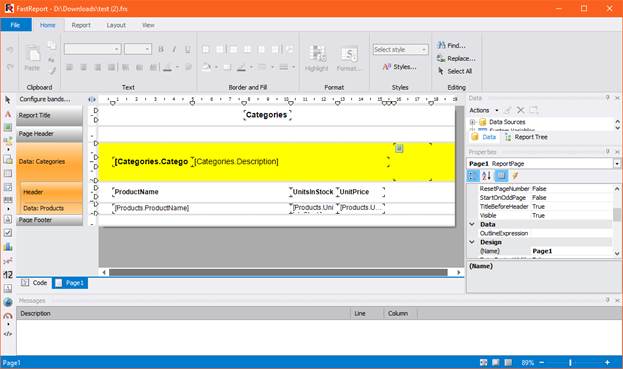
这样就得到了我们的报告,接下来可以用Online Designer进行编辑。
产品介绍 | 下载试用 | 优惠活动 | 在线客服 | 联系Elyn
推荐阅读
- FastReport VCL报表控件开发者手册
- FastReport Online Designer中文手册
- Fastreport.Net教程2016
- Fastreport.Net用户手册
- FastReport.Net教程2017(持续更新中···)
- FastReport Online Designer教程2017(持续更新中···)
- 报表教程2017(持续更新中···)

标签:报表解决方案报表.NETASP.NET报表控件报表设计FastReport
来源:慧都
声明:本站部分文章及图片转载于互联网,内容版权归原作者所有,如本站任何资料有侵权请您尽早请联系jinwei@zod.com.cn进行处理,非常感谢!