如何在ASP .Net Core中轻松,简单地使用Online Designer
FastReport .Net 2018的一个新颖之处是将OnlineDesigner改编为.Net Core框架。 一般来说,OnlineDesigner并没有改变。今天将在ASP.Net Core项目中使用它的一些功能。 首先需要在Web设计器中构建OnlineDesigner。 在OnlineDesigner的web designer中,应该选择必须存在的组件,样式,插件等。请注意“配置”部分。需要在此处设置API URLs。选择FastReport.Web for Core:


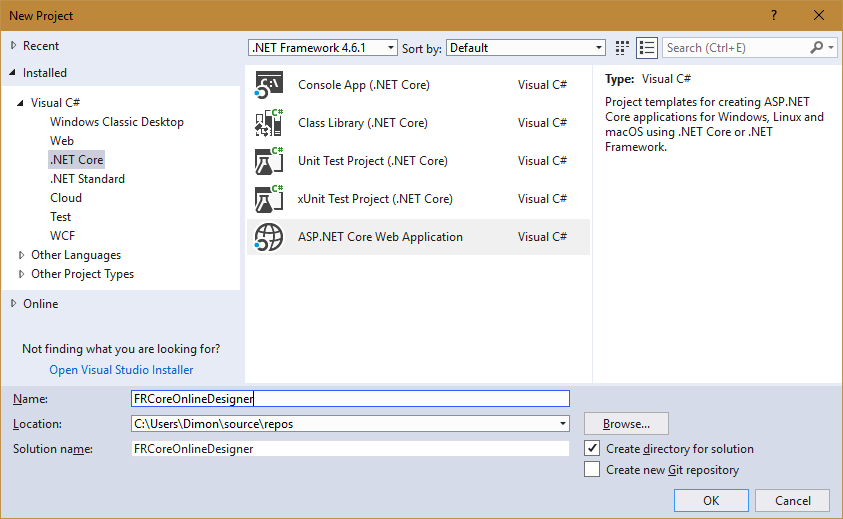
组装完Designer后,即可下载存档。 创建一个ASP.Net Core Web Application:
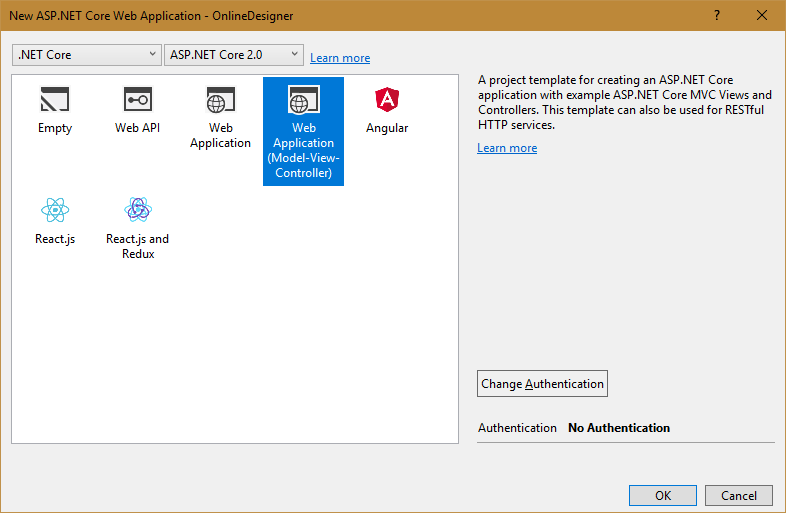
选择Web Application(Model-View-Controller):
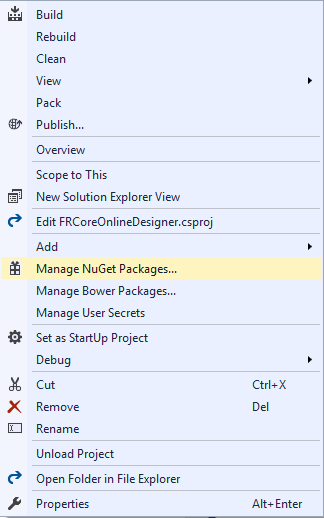
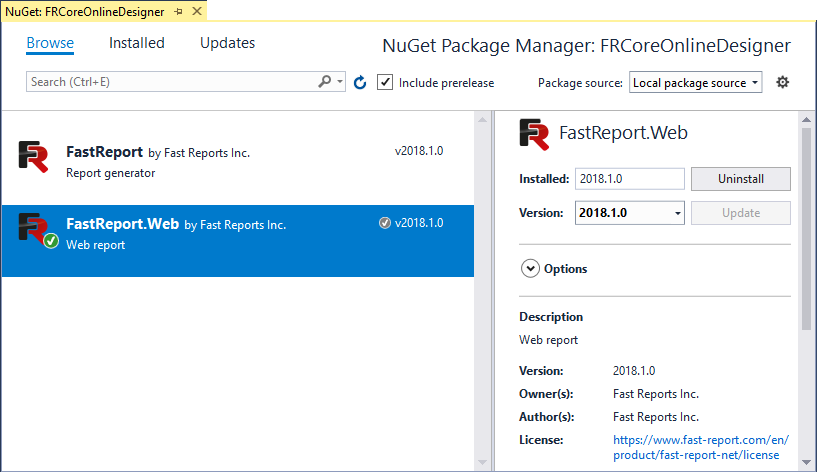
需要将FastReport.Web库添加到项目中。可以使用Manage Nuget Packages执行此操作。在解决方案资源管理器中右键单击项目的根目录,然后选择Manage Nuget Packages:
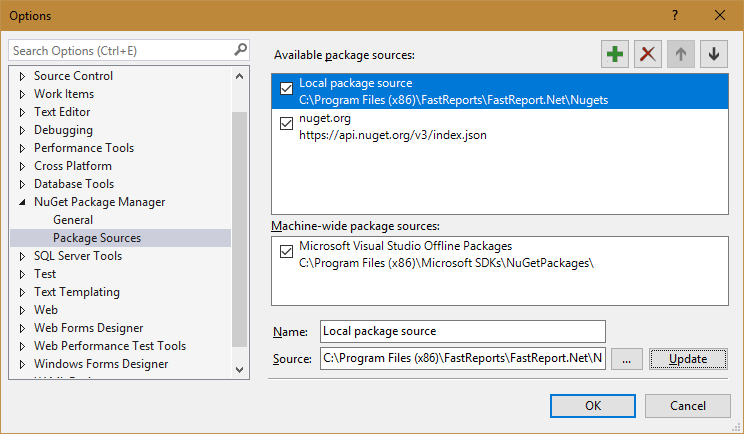
在包管理器中选择Local package source:

需要在文件夹上配置它:С: Program Files(x86) FastReports FastReport.Net Nugets。请单击齿轮图标:
之后,将看到FastReport包。安装FastReport.Web:
开始创建程序。 需要将文件夹WebReportDesigner放在wwwroot中下载的档案中。 将两个文件夹添加到wwwroot:Reports和DesignedReports。 在第一个文件夹中,将放置Simple List.frx报告模板和nwind.xml数据库。这两个文件都可以在文件夹C: Program Files(x86) FastReports FastReport.Net Demos Reports中获取。将报告从OnlineDesigner保存到DesignedReports文件夹。 打开控制器HomeController.cs。添加库来使用:
using FRCoreOnlineDesigner.Models;using FastReport.Web;using System.IO;using Microsoft.AspNetCore.Http;using Microsoft.AspNetCore.Hosting;
在HomeController构造函数中,获取了hostingEnvironment对象,从中学习了wwwroot文件夹的绝对路径。
public HomeController(IHostingEnvironment hostingEnvironment) { _hostingEnvironment = hostingEnvironment; }
编辑Index方法:
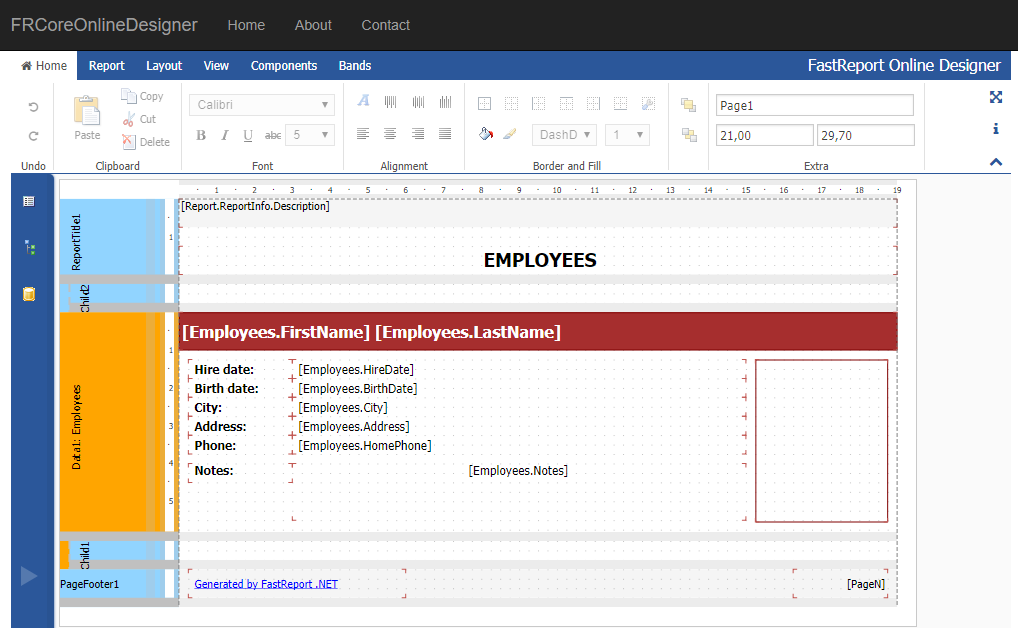
public IActionResult Index() { WebReport WebReport = new WebReport(); // Create a Web Report Object WebReport.Width = "1000"; // Set the width of the report WebReport.Height = "1000"; // Set the height of the report string webRootPath = _hostingEnvironment.WebRootPath; // Get the path to wwwroot folder //string contentRootPath = _hostingEnvironment.ContentRootPath; WebReport.Report.Load(webRootPath + "/reports/Simple List.frx"); // Load the report into a WebReport object System.Data.DataSet dataSet = new System.Data.DataSet(); // Create a data source dataSet.ReadXml(webRootPath + "/reports/nwind.xml"); // Open the xml database WebReport.Report.RegisterData(dataSet, "NorthWind"); //Register the data source in the report WebReport.Mode = WebReportMode.Designer; // Set the mode of the web report object - display of the designer WebReport.DesignerPath = "/WebReportDesigner/index.html"; // Specify the URL of the online designer WebReport.DesignerSaveCallBack = "/Home/SaveDesignedReport"; // Set the view URL for the report save method ViewBag.WebReport = WebReport; // pass report to View return View(); }
再添加一个方法-SaveDesignedReport方法:
[HttpPost] // call-back for save the designed report public ActionResult SaveDesignedReport(string reportID, string reportUUID) { string webRootPath = _hostingEnvironment.WebRootPath; // Get the path to wwwroot folder ViewBag.Message = String.Format("Confirmed {0} {1}", reportID, reportUUID); // Set a message for view Stream reportForSave = Request.Body; // Write the result of the Post query to the stream string pathToSave = webRootPath + "/DesignedReports/TestReport.frx"; // get the path to save the file using (FileStream file = new FileStream(pathToSave, FileMode.Create)) // Create a file stream { reportForSave.CopyTo(file); // Save the result of the query to a file } return View(); }
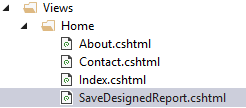
对于此Web方法,需要再添加一个Views。对于文件夹Views-> Home,调用上下文菜单并选择Add-> New item。接下来,选择MVC View Page模板和SaveDesignedReport。
页面代码非常简单:
<h2>@ViewBag.Message</h2>
编辑view index.cshtml:
@{ ViewData["Title"] = "Home Page";}@await ViewBag.WebReport.Render()
await语句指示对异步报告处理方法的调用。 现在打开Startup.cs类。 在Configure方法中,最开始添加以下行:
app.UseFastReport();
现在应用程序将使用FRCore库。 启动Web Application。
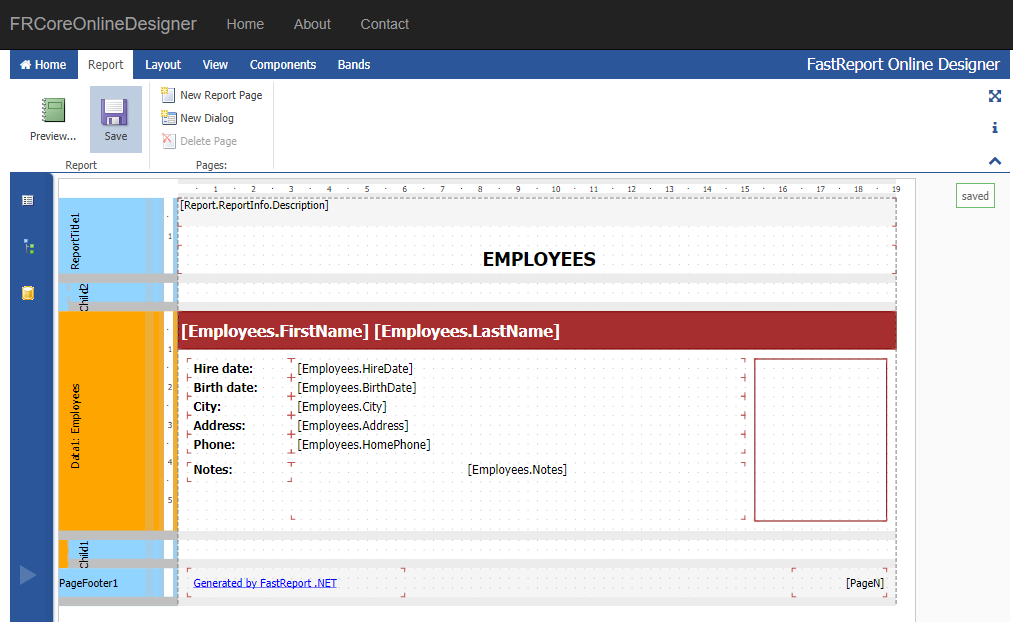
保存报表:
保存完成后,检查DesignedReports文件夹:
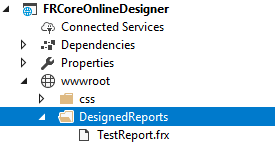
该报告已成功保存,总结一下。FastReport .Net 2018已完成其Web组件对ASP .Net Core框架的全局调整。与此同时,开发人员试图尽可能地保持使用其组件的机制,类似于它们在ASP .Net MVC中的使用。
标签:ASP.NETFastReportFastReport .net
来源:慧都
声明:本站部分文章及图片转载于互联网,内容版权归原作者所有,如本站任何资料有侵权请您尽早请联系jinwei@zod.com.cn进行处理,非常感谢!